For this tutorial we're going to build an Arboreal Spiderling Enclosure Kit for a baby C. versicolor (Martinique Pink Toe) spiderling.
We will be using hot glue gun to assemble the furnishings. Be sure to get your gun warmed up before you start!
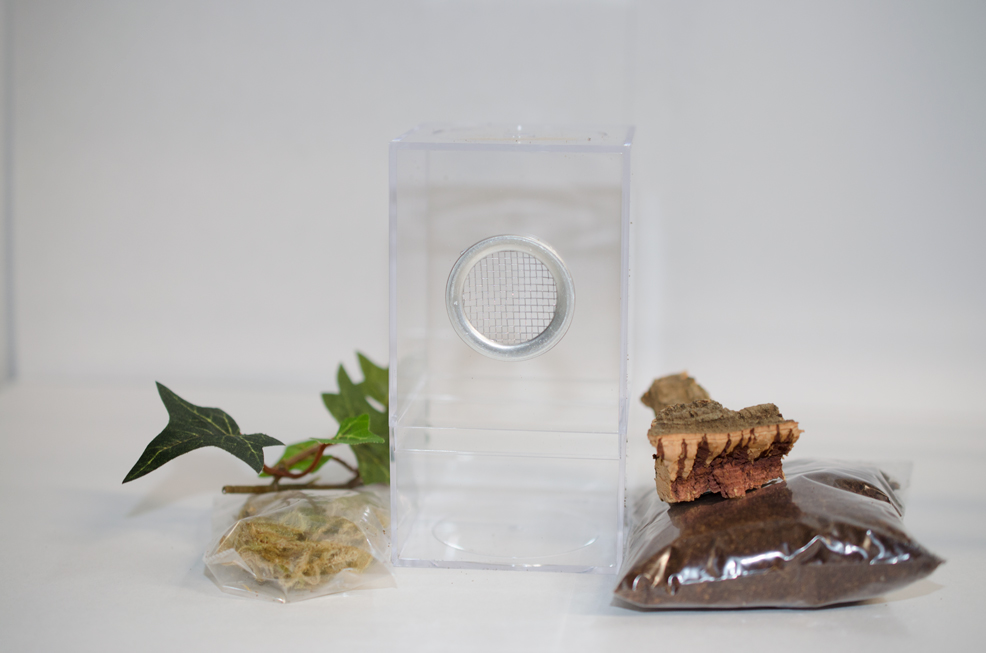
The Arboreal Spiderling Enclosure Kit is recommended for arboreal (tree-dwelling) spiderlings 2" leg-span and under.
The enclosure kit will come wrapped so it's not damaged or doesn't come apart in transit (first photo) after unwrapping the enclosure (second photo) you'll have five parts:
-Cork bark
-Artificial plant
-Cocofiber substrate
-Decorative moss
- 4" x 2.25" x 2.25" Enclosure with 1" vent
As we typically maintain our small spiderlings to drink "dew" from the enclosure walls our spiderling kits do not contain a water bowl.
While traditional enclosures typically open in a location that interferes with the arboreal species webs, the Jamie's Tarantulas Arboreal Spiderling Kit is designed for the comfort and ease of both owner and their tree-dwelling pet.
One of the enclosures many features is it opens from the bottom to avoid damaging the webs/home of the arboreal who likes to build up high.
Before I assemble everything I like to get an idea of where the furnishings are going to go. I want the spiderling to have lots of things to attach it's web to near the top of the enclosure. I also want it to have easy access to the bottom if the enclosure in case it wants to climb down.
Here I'm sizing up the cork bark in the enclosure, trying to get an idea of how to arrange everything.
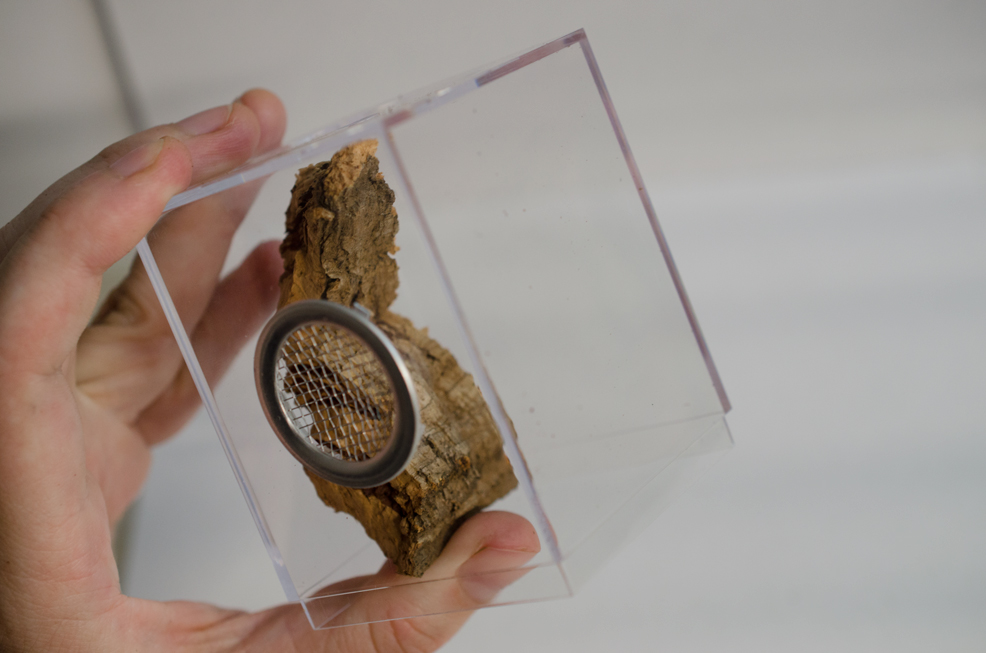
Ok, looks good.
Let's add some plants and moss. First a little hot glue where we want everything anchored:
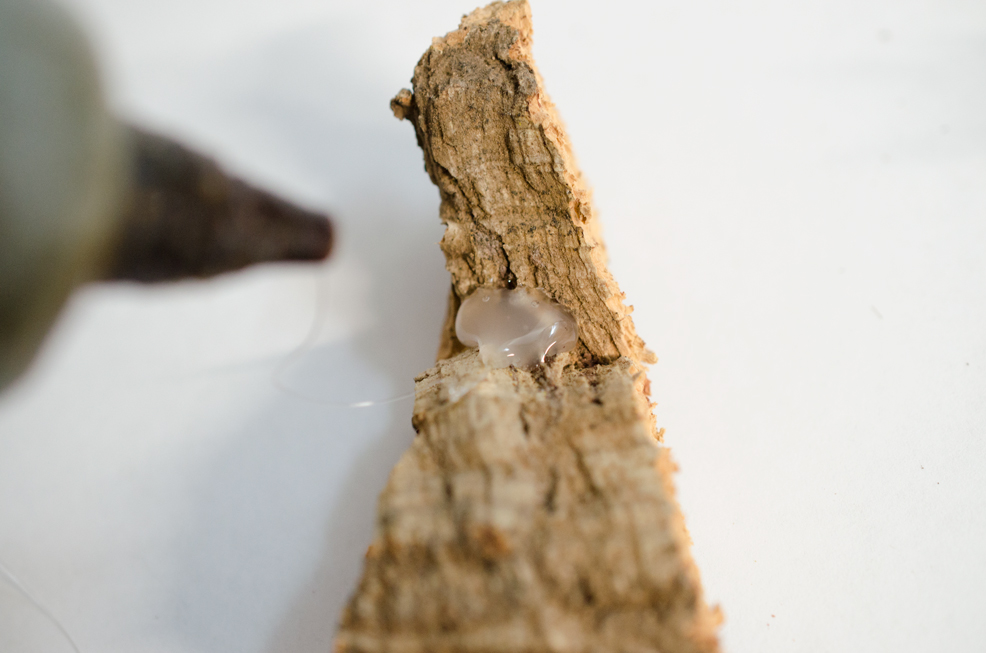
Take the plant stem and carefully put the base in the hot glue puddle. I like to hold the plant by the leaves as to keep my fingers as far from the hot glue as possible. Note: the artificial plant stem may need to be broken down further before assembly.
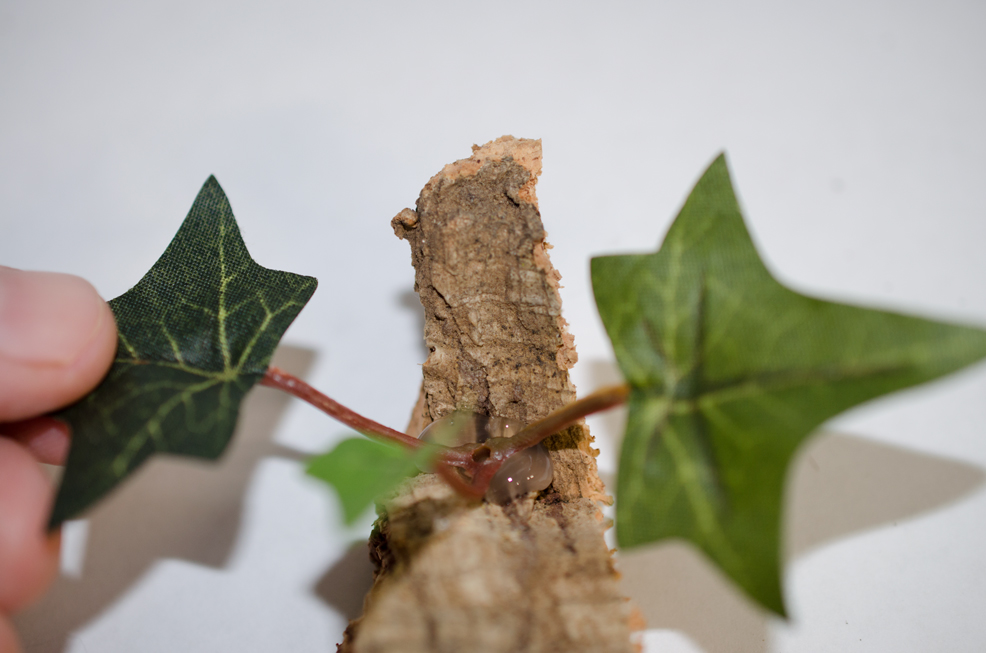
Now cover the hot glue spot and stem base with a wad of moss.
This part can be a little tricky without practice. I recommend to balling up the moss and make sure there is always a safe amount of space between your fingers and the hot glue.
Once the glue was cooled down you can remove the strands of moss that didn't get caught in the glue. I very, very gently tug and if it comes free on it's own I will remove it strand by strand. Also, remove all glue gun residue/strings that might bother the tarantula.
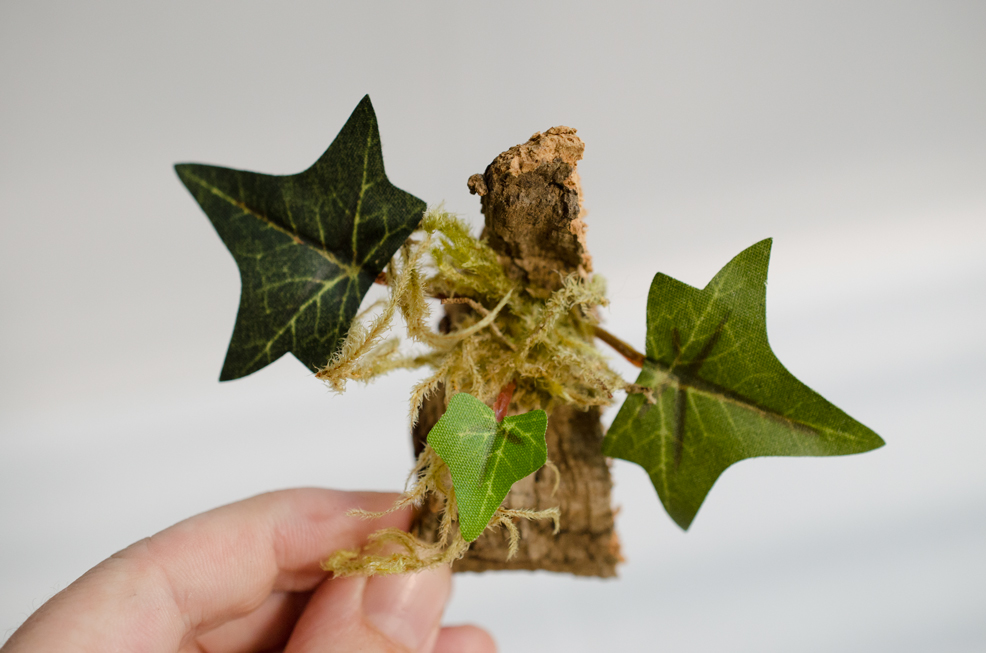
Here is what we have so far. Now for some more glue...
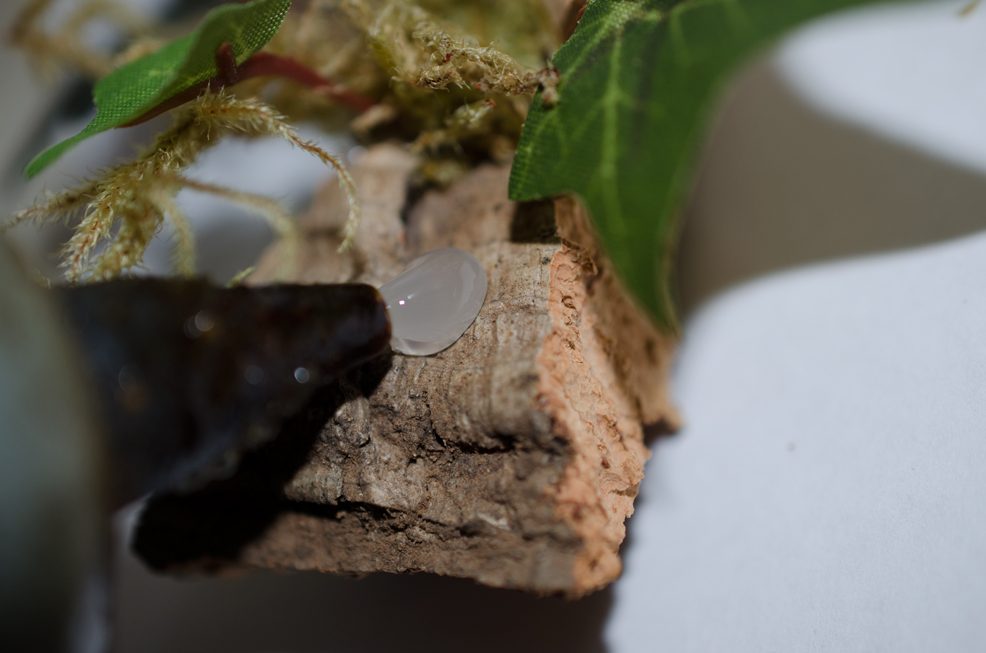
More plants and moss...
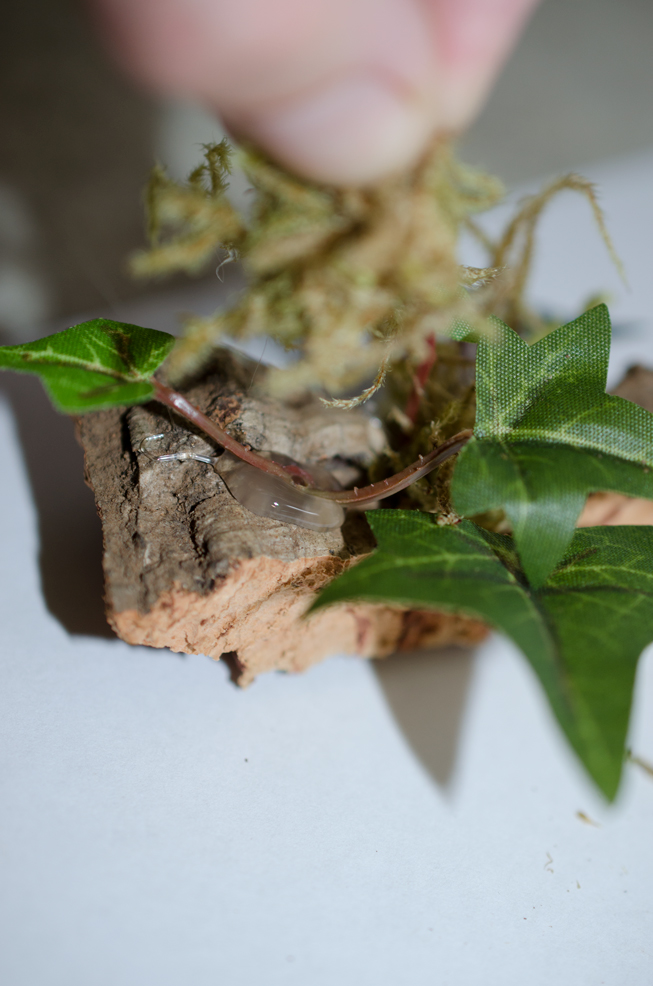
Thin the moss, if needed (gently!) and remove any excess hot glue residue
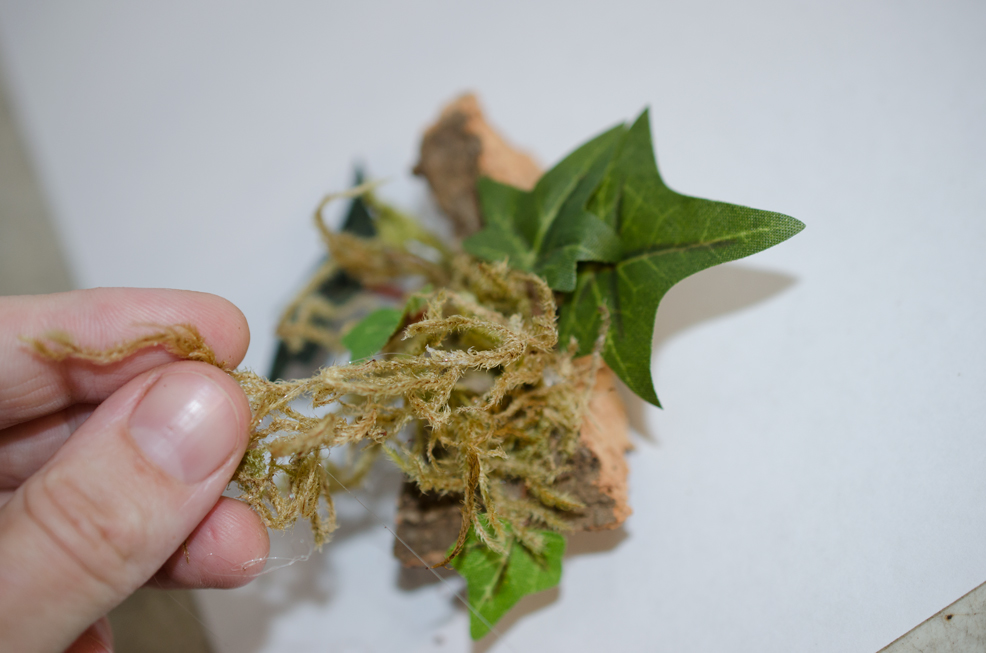
Test fit your cork bark one last time, just to be sure that's where you want it. Take note where the cork comes in contact with the enclosure. Put a one or two pea-sized hot glue spots on the contact points and press and hold where you want the bark to adhere.
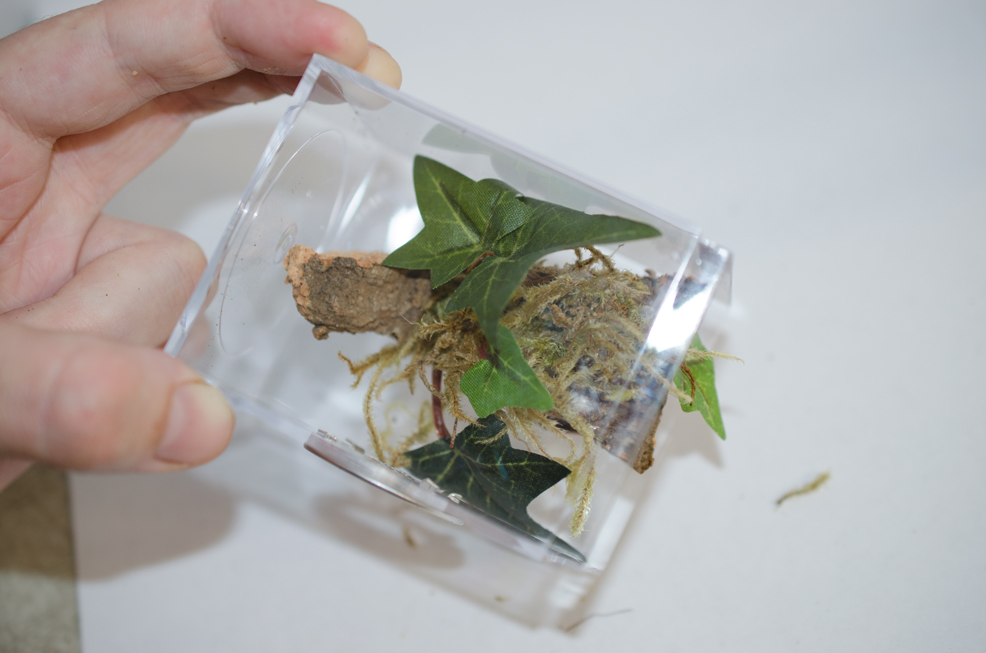
Looks nice!
Make sure the glue is completely cool before adding your tarantula.
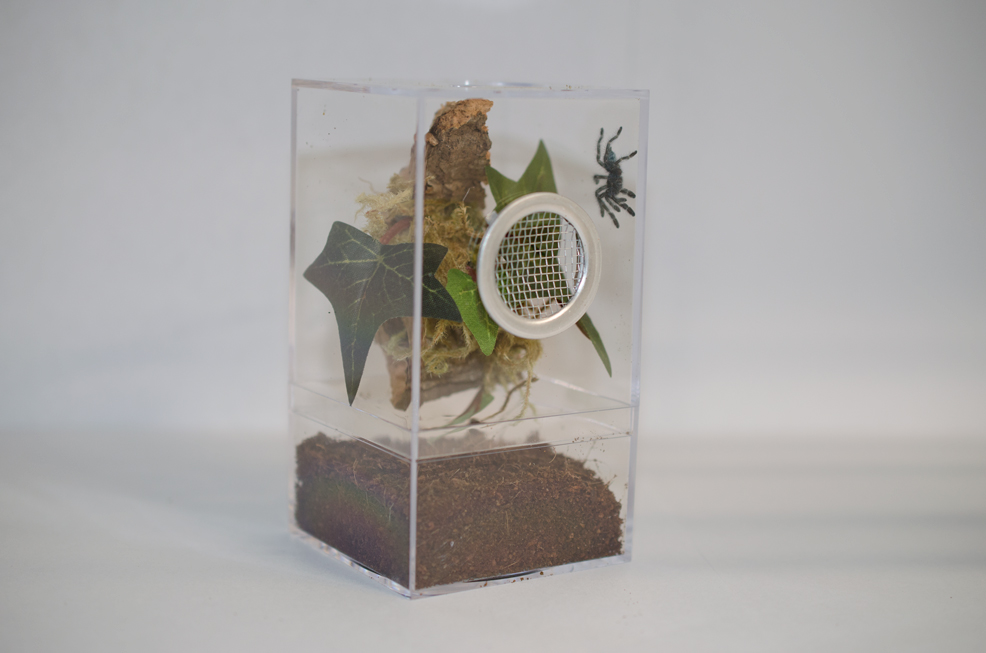
Also, we recommend a light mist so the tarantula has an opportunity to drink.
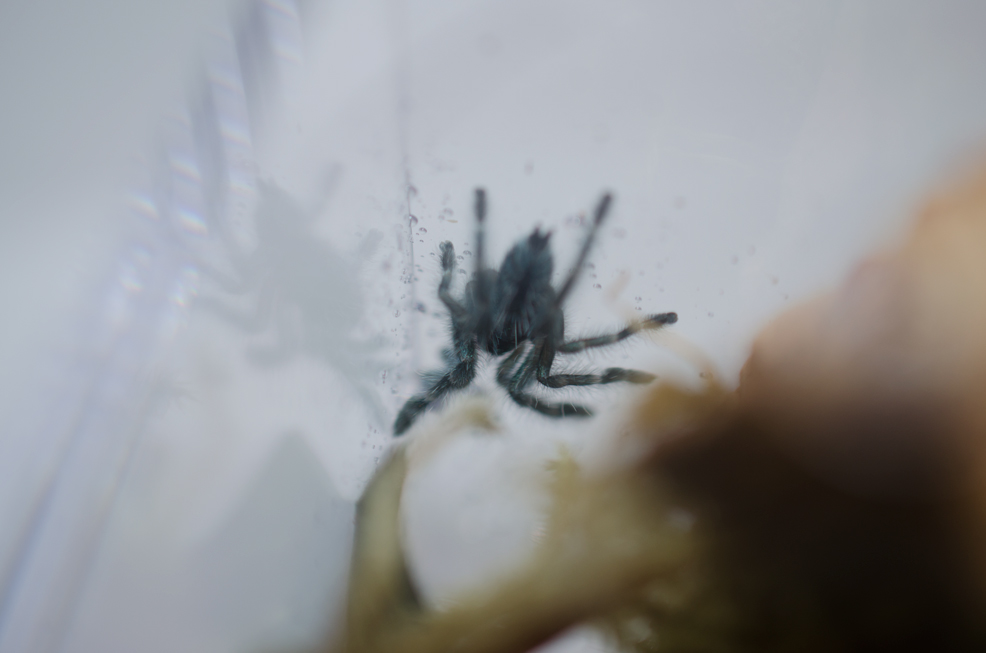
The little guy or gal is likely stressed as can typically be expected when rehoming any tarantula.
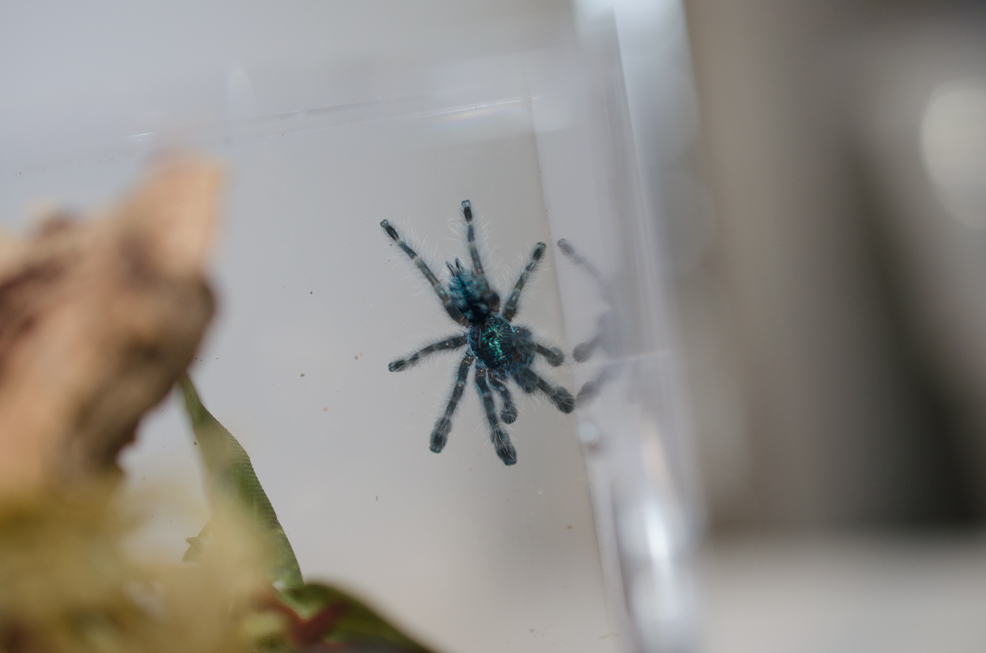
Think about it from the slings perspective. This tiny, blue fur-ball can't find the trail back home. It's terrified, lost and exposed in a totally unfamiliar and likely dangerous place.
The sling needs some quiet time to settle in before any feeders are offered. We'll wait about 4 days before trying to feed this C. versicolor.
Update on blueberry? If you even still blog on here LoL.
ReplyDeleteThese really helped me out with my pink toe I hope so
ReplyDeleteIs this enclosure vented enough for the C. versicolor? I noticed you used one for this however it doesn't give much cross ventilation.
ReplyDelete